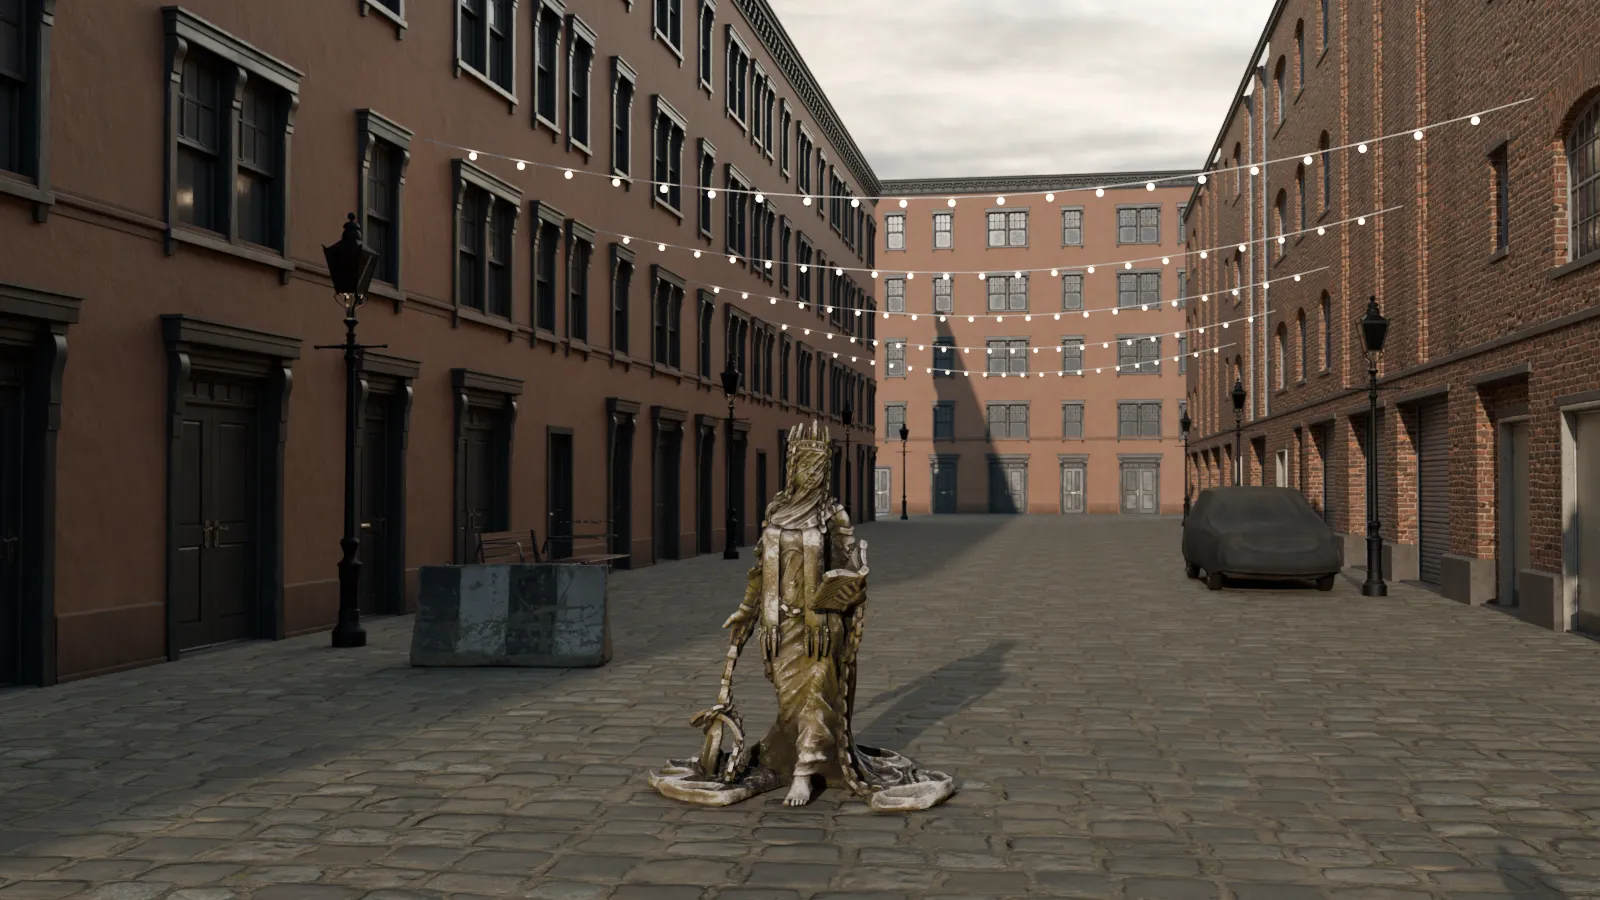
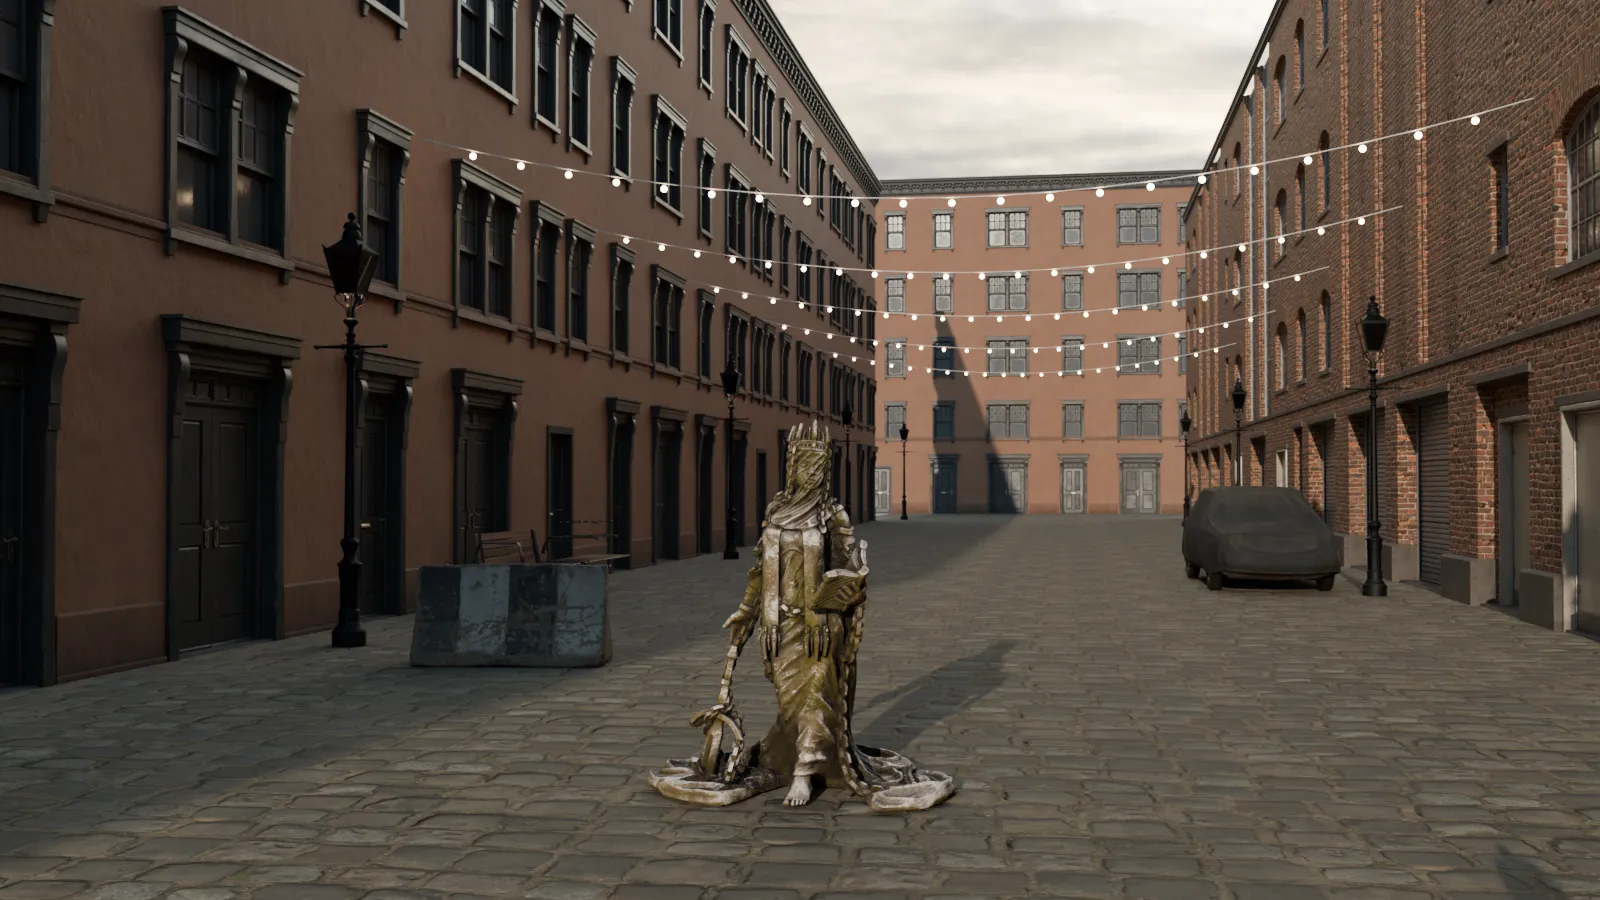
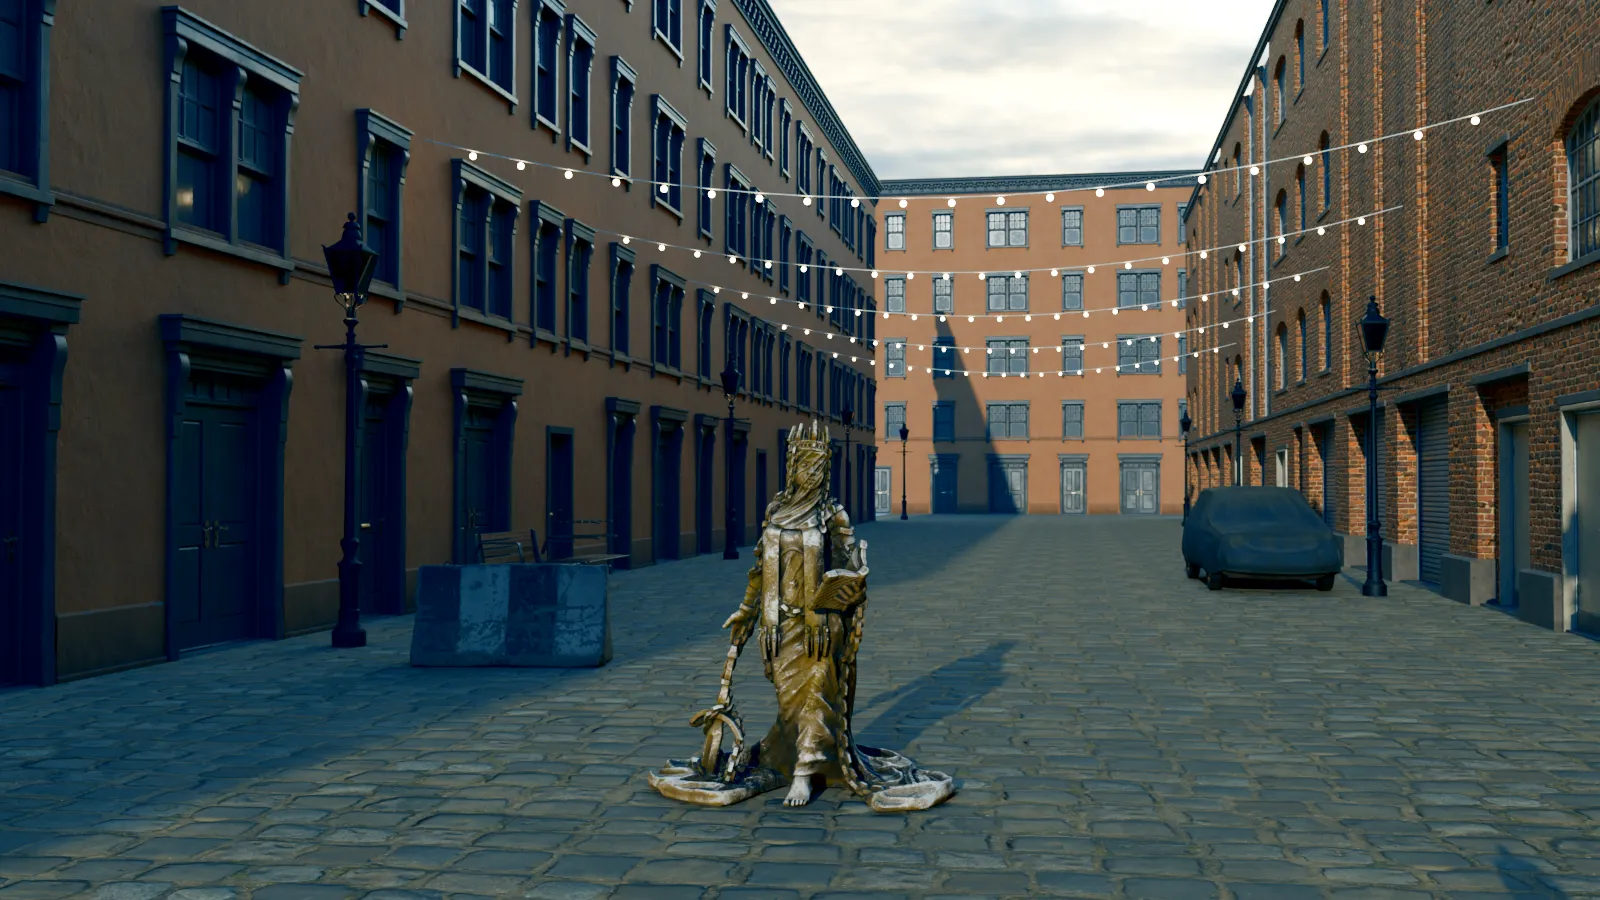
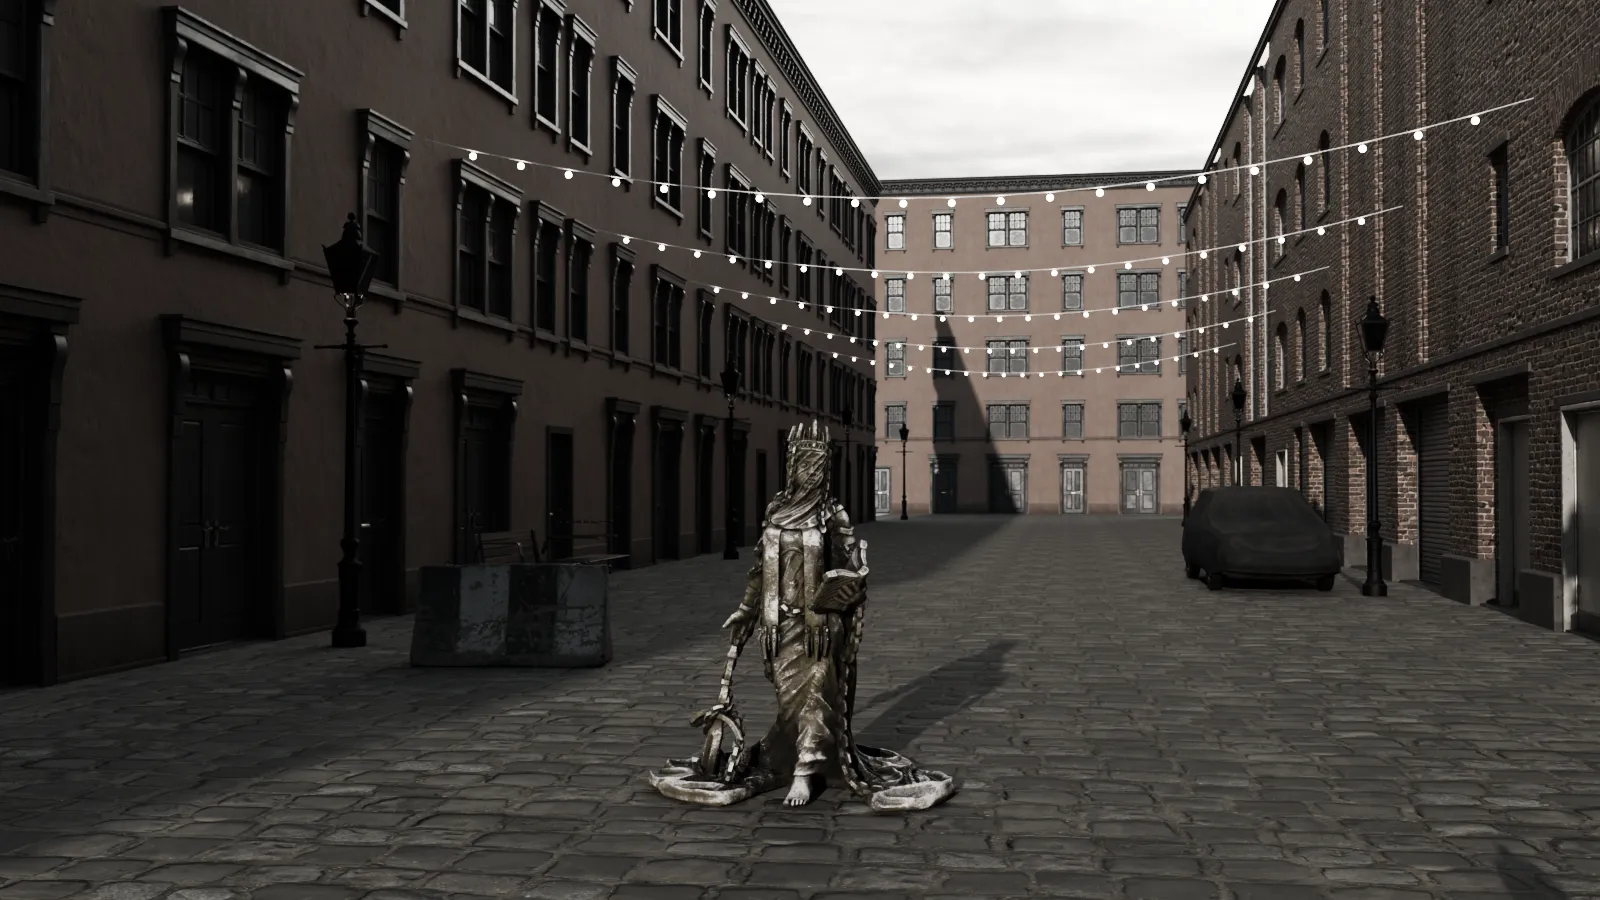
Color grading terms defined, from scopes and lift, gamma, gain to what a LUT is, log footage, gamuts, ACES, PQ and HLG, and teal-and-orange, each with its number or standard.
Method. Checked November 18, 2026 against Blackmagic's DaVinci Resolve 20 Reference Manual, ARRI's LogC4 specification and dynamic range white paper, Sony's S-Log3 guide, Adobe's Cube LUT specification, ITU-R BT.709, BT.1886, BT.2020 and BT.2100, SMPTE ST 2113, the Academy's ACES documentation, the CIE e-ILV, Kodak's glossary, guides and 2383 data sheet, American Cinematographer, Redfern (2021) and official Google, Kling, Luma and LTX prompt guides; LUT entry counts and the gamut-area chart are our arithmetic. Vinc makes an AI film studio.
How to use this part
Terms follow a grading job: scopes, primaries, secondaries, log and colour spaces, then looks. Jump to LUT or Log curves. Tool definitions quote the DaVinci Resolve 20 Reference Manual unless noted; the digital intermediate is in Film Terms: Editing and Post.
Reading the picture: scopes
Scopes show what the signal is, not how it looks. Resolve's scales "always reflect 10-bit full range data from 0–1023," or nits for HDR.
Waveform
A waveform plots brightness from black (bottom) to white (top) for every column of the picture, left to right, so the black point, white point and exposure read at a glance.
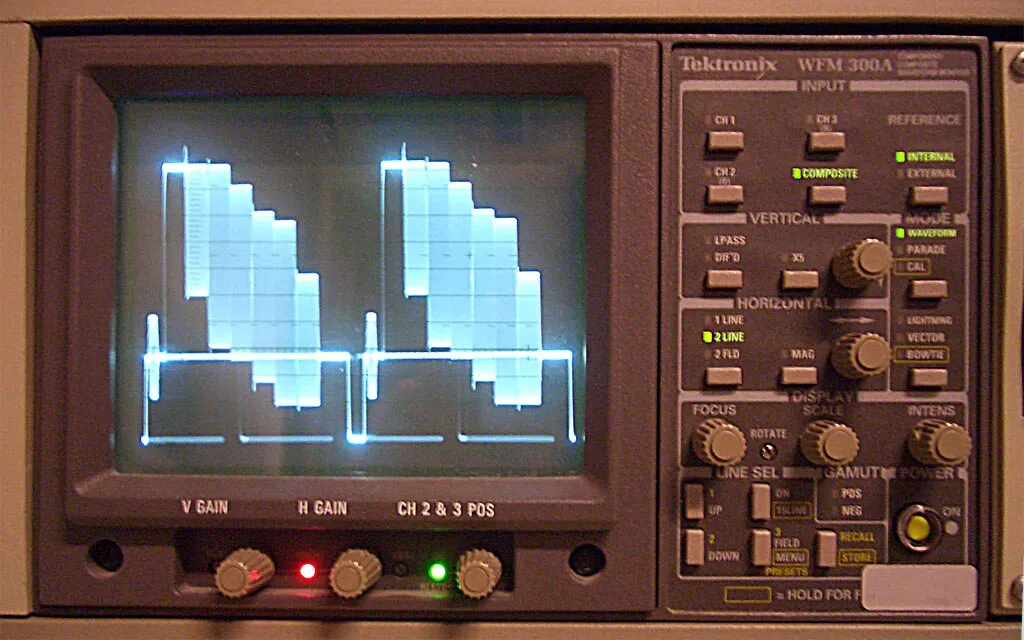
Waveform
A waveform monitor displaying colour bars as stepped blocks of brightness.Photo: grm_wnr, Wikimedia Commons, CC BY-SA 3.0.
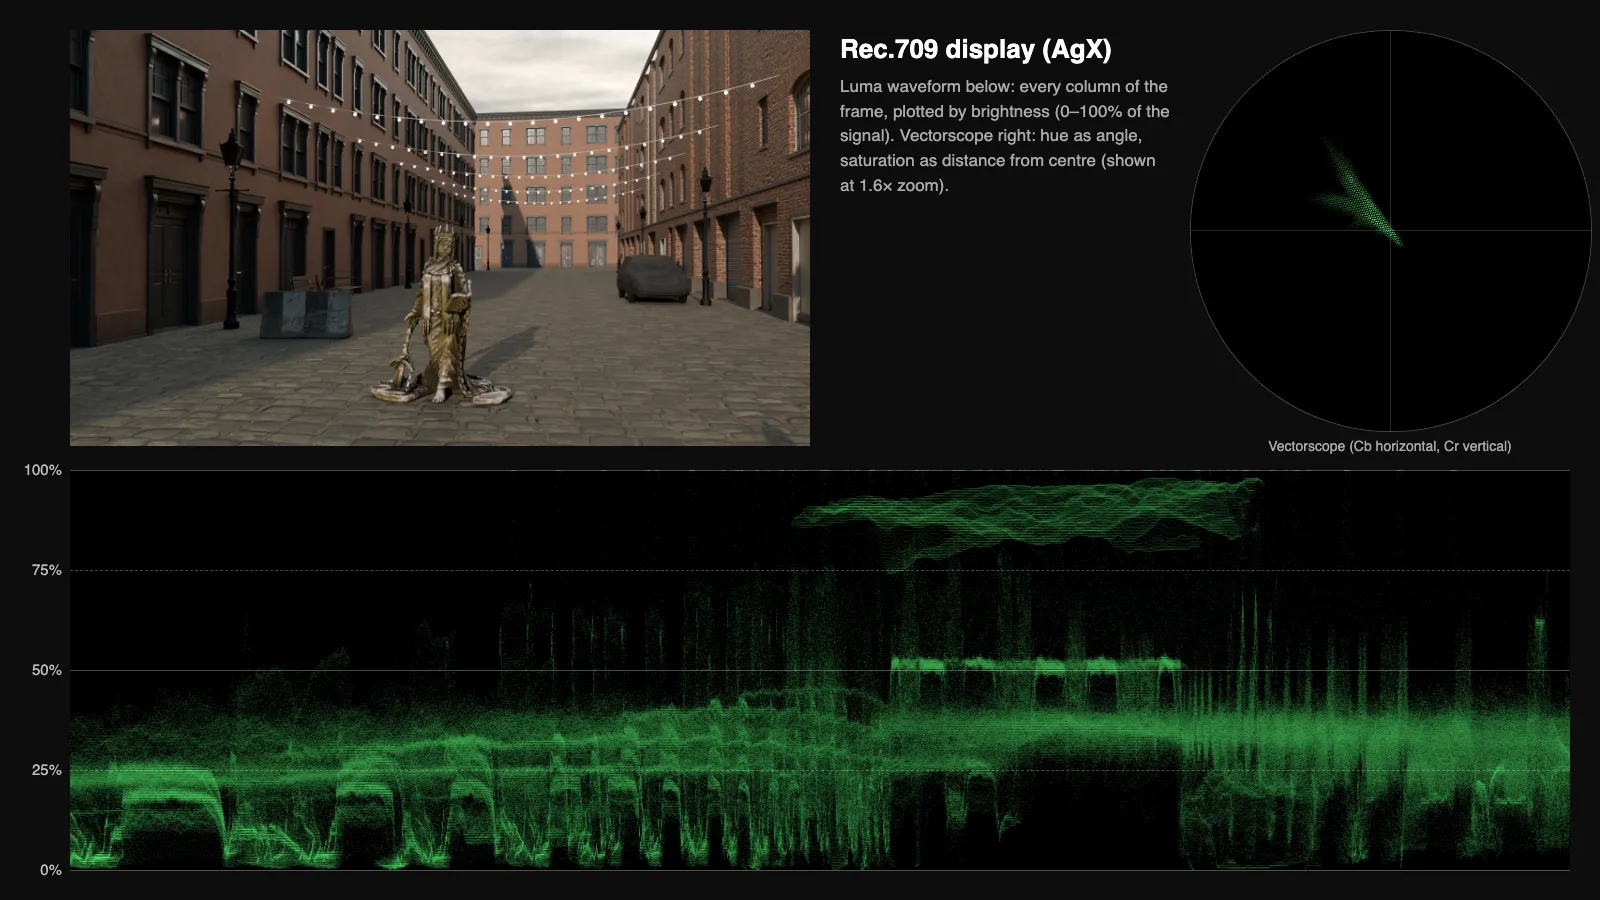
One render on the scopes after a display transform (Blender's AgX tone curve, Rec.709/sRGB). The luma waveform spans roughly 5–95% and the vectorscope trace reaches out toward orange and blue. Rendered in Vinc's virtual camera lab.
Scene: CC0 Poly Haven assets (Gothic Statue by Benny Weimer; facades by James Ray Cock).
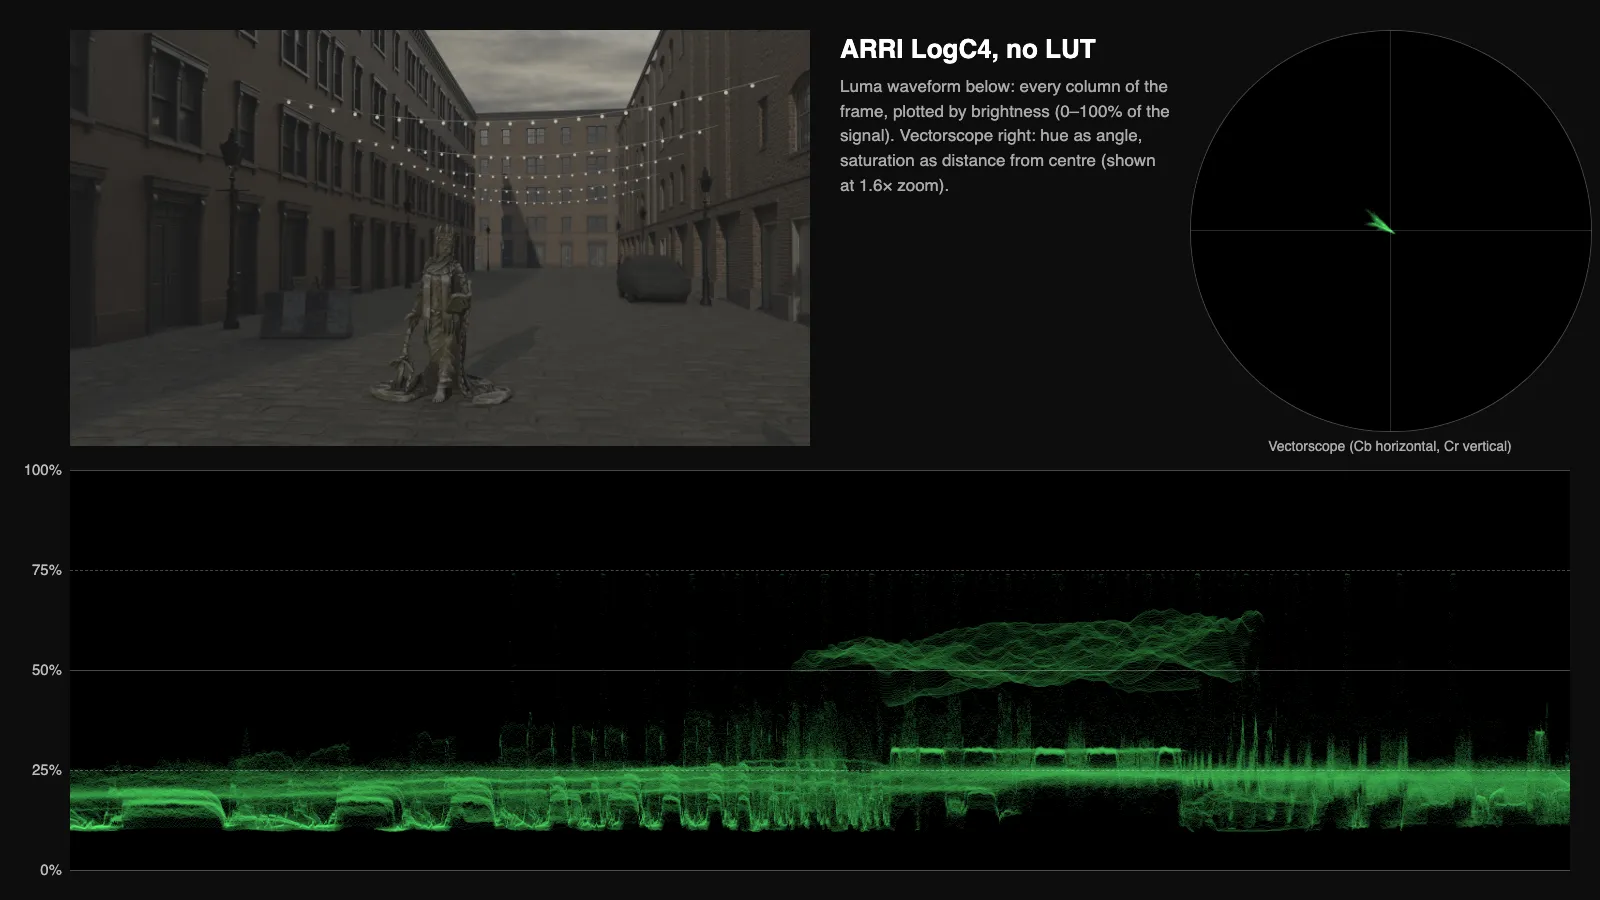
LogC4, no LUT
The same render encoded with ARRI's published LogC4 formula in ARRI Wide Gamut 4, with no LUT. The waveform is squeezed into about 10–65% and the vectorscope collapses toward the centre. That is the "flat" look a colourist expands. Waveforms are luma (Rec.709 weights); the vectorscope is shown at 1.6× zoom. Rendered in Vinc's virtual camera lab.LogC4 formula: ARRI LogC4 Specification (2025). Scene: CC0 Poly Haven assets.
Parade
The parade shows the same analysis as separate Y, R, G and B waveforms side by side: unequal heights reveal colour casts, and "tall parade graphs indicate a wide contrast ratio."
Vectorscope and the skin-tone line
A vectorscope ignores brightness and plots hue as an angle and saturation as distance from the centre, so an off-centre graph means "a color cast (tint) in the image." Resolve's Skin Tone Indicator is "useful as a general guidepost for average skin tone hue," not a target.
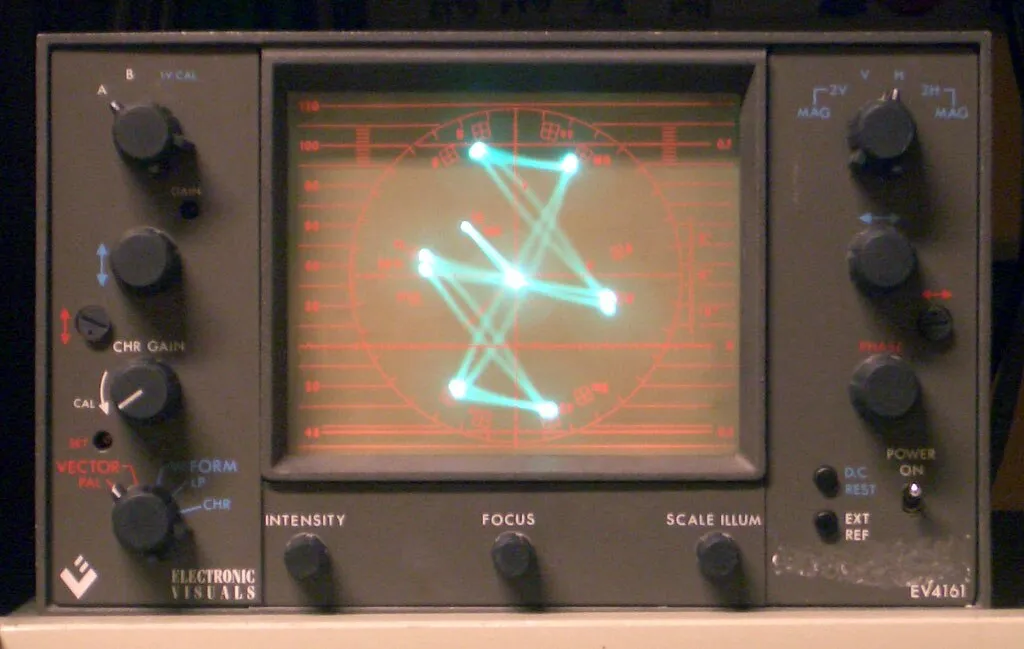
Vectorscope
A hardware vectorscope showing colour bars as bright points joined by lines around the centre.Photo: grm_wnr, Wikimedia Commons, CC BY-SA 3.0.
Scope
Vertical or radial axis
Use it to judge
Waveform (Y)
Brightness 0–1023 (10-bit) or nits
Black point, white point, exposure match
Parade (RGB)
Same, per channel
Colour casts in shadows, mids, highlights
Vectorscope
Hue angle, saturation radius
Overall cast, saturation, skin hue
Histogram
Pixel count per tone
Contrast spread
In a prompt: models have no scopes, so ask for the result ("neutral blacks").
Primary corrections: moving the whole frame
Lift, gamma, gain
Lift, gamma and gain are the three classic tonal controls: Lift moves "the black point," Gamma "the distribution of midtones," and Gain "the white point." Their ranges overlap, so a blue Lift cools the shadows while barely touching highlights.
Lift −0.15
Ungraded
Lift +0.15
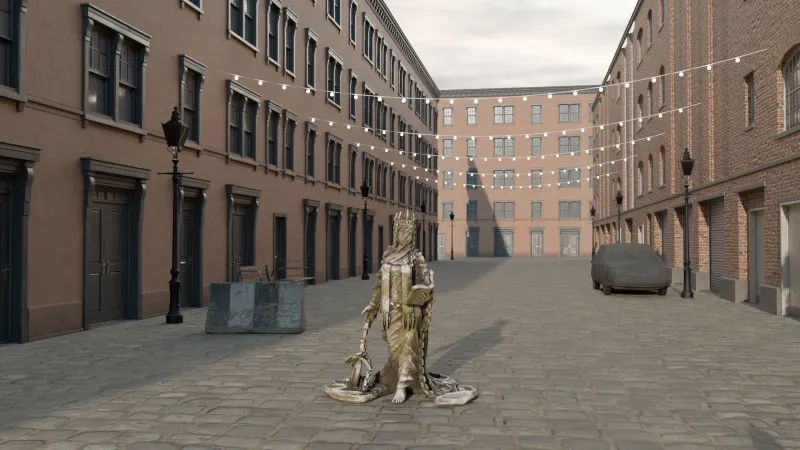
Lift on one frame, applied to display values as out = gain × (x + lift × (1 − x))^(1/gamma). Lift moves black most and white not at all: −0.15 crushes the shadows, +0.15 lifts them toward a faded, matte look. Rendered in Vinc's virtual camera lab.Scene: CC0 Poly Haven assets.
Gamma 0.7
Gamma 1.45
Gain 0.65
Gain 1.3
Gamma bends the midtones while black and white stay put (0.7 darker, 1.45 lighter). Gain scales from black, so it moves white most: 0.65 dims the sky, 1.3 pushes it to clip. The formula is the same as above. Rendered in Vinc's virtual camera lab.Scene: CC0 Poly Haven assets.
Offset
Offset moves a whole channel, or all channels, up or down by the same amount, so its colour wheel is the usual first move for neutralising a cast.
Printer lights (printer points)
Printer lights (points) are fixed-step adjustments to red, green, blue and density, inherited from lab colour timing; Resolve keeps them as buttons that move each channel "in discrete increments." Kodak's 2383 data sheet still advises "a neutral increase of 1 to 2 printer points"; one-light dailies use "the laboratory standard or average printing light."
Contrast and pivot
Contrast stretches tones around a centre point, the pivot. Lower the pivot on dark images so a contrast boost doesn't crush the shadows.
Highlight roll-off
Roll-off is how highlights approach white: abruptly (a clip) or gradually (a shoulder), via curves, soft clip or tone mapping.
Curves
Custom curves map input tone to output tone, starting as a diagonal line. A gentle "S" curve adds contrast while keeping the ends soft.
Hue vs hue, hue vs sat, hue vs lum, lum vs sat, sat vs sat
These curves start flat; pull a point to shift one colour range. Hue vs Hue turns a blue shirt red, Hue vs Sat mutes only the greens, Lum vs Sat drains colour from the darkest shadows.
Saturation, colourfulness and chroma
The CIE's International Lighting Vocabulary separates three measures of how colourful a colour looks:
Term
CIE definition (S 017:2020)
Colourfulness
How chromatic a colour appears, absolute
Saturation
"colourfulness of an area judged in proportion to its brightness"
Chroma
colourfulness judged relative to a similarly lit grey or white
Colourfulness "usually increases as the luminance is raised," so raising gain can look more colourful without touching saturation.
White balance, colour temperature and tint
White balance makes a neutral object read as neutral. Colour temperature gives the light's colour in kelvin, from tungsten at about 3200K to daylight at about 5500K (Kodak); higher is bluer, and tint is the green–magenta axis.
Kodak's reference points: tungsten about 3200K, daylight about 5500K, and 6500K as its example daylight value. Higher numbers are bluer.
Resolve's Temp and Tint are constrained Gain adjustments; on-set gels are in Lighting Terms Explained. In a prompt, name the colour ("warm autumnal oranges and browns," Google's Veo guide); models don't read kelvin reliably (our observation).
Secondary corrections: isolating part of the frame
Primaries vs secondaries
A primary correction affects the whole image (all a lab timer could do); a secondary changes "specific colors and objects" selected by colour or shape "without affecting the overall color balance" (Kodak). Balance with primaries first.
Qualifier (HSL key)
A qualifier selects pixels by hue, saturation and luminance, "effectively a chroma keyer," usually for skin, foliage and sky. On O Brother, Where Art Thou? (2000), Roger Deakins and colourist Julius Friede spent about 10 weeks on a 2K scan keying the greens, "turning them into dry browns and yellows" (American Cinematographer, October 2000): a hue range, a direction and a reason, which a prompt needs too.
Power window
A power window isolates a region by a feathered shape, suited to "the oval of a person's face, the front of a car, or a wide expanse of sky."
Tracking a window
Tracking makes a window follow a moving subject instead of being animated by hand.
Node graph
Resolve grades with nodes, and "the order in which the nodes are arranged determines the order of image processing operations": desaturate before a sky key and the key has "less image data to work with."
Our illustration of a serial node order: balance first, isolate second, look last, so each key samples a balanced image.
Matching shots
Matching balances a scene's shots so colour "flows unnoticeably from one clip to the next," using stills, scopes and Shot Match.
Log, LUTs, ACES and colour spaces
Log and lin
Linear (lin) values are proportional to light; log values to stops, which "ends up assigning more bits of information to the darker areas" (Kodak) and looks flat and grey on a normal monitor. Grade in log; use linear (ACEScg) for CG and compositing. Camera-side log is in Film Terms: Exposure and the Digital Image.
Log curves (LogC3, LogC4, S-Log3)
A log curve is a storage format that keeps the sensor's full range for grading. Each camera maker publishes its own; compare them by where 18% (middle) grey lands in the signal:
Encoding
Maker's document
18% grey lands at
Notes
ARRI LogC3
ARRI dynamic range white paper (2022)
39.10%
In use since 2011 on ALEXA cameras
ARRI LogC4
ARRI LogC4 specification (May 2022) and white paper
27.84%
For the ALEXA 35 sensor; exposure-index independent
Sony S-Log3
Sony Help Guide
41%
"1,300%" range with 90% white; maximum output 94%
Where 18% grey lands in each log signal
ARRI LogC339.1%
ARRI LogC427.8%
Sony S-Log341.0%
ARRI dynamic range white paper and LogC4 specification (2022); Sony S-Log3 Help Guide. LogC4 puts grey lowest, which is why it looks darker on an uncorrected monitor.
LogC4 has a lower slope to fit more range (17 stops on the ALEXA 35 against 14.5 on the Mini LF), so without a LUT "the LogC4 image is darker"; ARRI's viewing LUTs map both greys to 40% video. The encoding curve, above a small threshold:
E' = ((log2(a·E + 64) − 6) / 14) · b + c

a = (2^18 − 16) / 117.45
b = (1023 − 95) / 1023
c = 95 / 1023
It was "designed for 12-bit encoding," so 10-bit LogC4 files "should not be used for archival or interchange."
LogC4, no LUT
Rec.709 display
One scene-linear render stored two ways. Left: encoded with ARRI's published LogC4 formula (above) in ARRI Wide Gamut 4 and viewed with no LUT. It is flat and dark because 18% grey sits at 27.8% of the signal. Right: the same data through a display transform (Blender's AgX tone curve, Rec.709/sRGB primaries). This is ARRI's published encoding maths, not ARRI colour science or ARRI's own viewing LUT. Rendered in Vinc's virtual camera lab.Scene: CC0 Poly Haven assets (Gothic Statue by Benny Weimer; facades by James Ray Cock; Evening Road 01 sky by Jarod Guest and Sergej Majboroda).
LUT (1D, 3D, 33- and 65-point)
A LUT (look-up table) is a "color translation table that links a set of input color values to a set of output color values" (Kodak), most often used to turn flat log into a viewable image or to apply a look. Adobe's Cube LUT specification (1.0, 2013), the format most tools exchange, defines two kinds:
1D LUT: three independent per-channel tables (2–65,536 entries). Contrast, gamma, tint; it cannot desaturate one hue alone.
3D LUT: a cube of N × N × N sample points (N 2–256), interpolated between. Every output depends on all three inputs, so it can do gamut conversions, print emulations and hue-specific looks.
Grid
Entries (n³)
Where you meet it
17-point
4,913
On-set monitor LUTs, Resolve example, Dehancer export
A LUT maps colour to colour only, so it cannot add grain, halation or blur, and it is built for one input: a LogC3 LUT gives the wrong result on LogC4.
CST (Color Space Transform)
A CST converts footage from one colour space and gamma to another inside the grade, with optional tone mapping for big range changes.
ACES and ACEScct
ACES (Academy Color Encoding System) is a "free and open-source" standard, now an Academy Software Foundation project, that converts every source into one scene-referred, very-wide-gamut encoding:
ACES2065-1: linear, AP0 primaries; interchange and archive.
ACEScg: linear, smaller AP1 primaries, "optimized for computer graphics rendering and compositing."
ACEScct: log with AP1, for grading, "not intended for interchange or archiving."
The ACES chain as its documentation lays it out: each camera converts in, the grade happens in ACEScct, and an Output Transform renders for each display.
LogC4 0.2784 equals 0.18 in ACES2065-1: the same grey in a shared linear space. ACES 2 brought "a completely redesigned suite of rendering transforms" with a gentler highlight roll-off. For mixing generated shots with camera footage, that shared space is the point: they grade together.
IDT, RRT and ODT (Input and Output Transforms)
An Input Transform (formerly IDT) maps each camera's image "to ACES RGB relative exposure values," one per camera setting. On the way out, ACES 1's RRT and ODT became one Output Transform.
The ACES chain: each camera gets its own Input Transform; the grade happens in one shared space; each display gets its own Output Transform.
Scene-referred vs display-referred
Scene-referred values describe light in the scene; display-referred values describe light off a particular screen (ITU-R BT.2100). A scene-referred grade, as in ACES, can be rendered to many displays.
Gamut
A gamut is the set of colours an encoding or display can hold, defined by three primaries and a white point on the CIE 1931 diagram: log sets how brightness is stored, gamut which colours exist at all. Camera gamuts are larger than delivery ones (ARRI Wide Gamut 4's blue primary sits outside real colours), so saturated LED light recorded on set must be mapped into Rec.709's smaller triangle.
Area of each gamut triangle on the CIE 1931 xy diagram, as a share of Rec.2020
Rec.70953%
P372%
Rec.2020100%
Our calculation from the ITU-R BT.709-6, SMPTE ST 2113 and ITU-R BT.2020-2 primaries. xy area is a rough guide; it is not perceptually uniform.
Rec.709, P3 and Rec.2020
Each is a set of primaries plus a white point (CIE 1931 x, y):
Space
Red
Green
Blue
White
Rec.709 (ITU-R BT.709-6)
0.640, 0.330
0.300, 0.600
0.150, 0.060
D65 (0.3127, 0.3290)
P3 (SMPTE ST 2113)
0.680, 0.320
0.265, 0.690
0.150, 0.060
D65, D60 or DCI (0.314, 0.351)
Rec.2020 (ITU-R BT.2020-2)
0.708, 0.292
0.170, 0.797
0.131, 0.046
D65
Rec.709 is HD and most web video; P3 comes from digital cinema; Rec.2020 is the widest, the 10- or 12-bit UHD container. BT.709 also fixes the camera curve and the luma weights most tools use:
V = 1.099 · L^0.45 − 0.099     for 0.018 ≤ L ≤ 1
Y = 0.2126 R + 0.7152 G + 0.0722 B
Gamma 2.4, 2.2, sRGB and 2.6
Display gamma turns signal into screen light: 2.4 for HD (BT.1886), 2.6 for cinema projection, about 2.2 (sRGB) for computers, so one file shows lighter shadows on a laptop than on a grading monitor.
HDR: PQ, HLG and nits
A nit is one candela per square metre. ITU-R BT.2100 defines two HDR systems: PQ, absolute brightness up to 10,000 cd/m², and HLG, relative to the display. HDR reference white sits at 203 cd/m², far below peak.
Looks
Film print emulation
Print emulation reproduces the contrast and colour of a print stock such as Kodak VISION Color Print Film 2383, the last copy in the photochemical chain from negative to cinema, with "rich blacks and neutral highlights" and "superior halation protection" (Kodak, 2022).
The photochemical chain to the cinema. Print emulation reproduces the last step, the release print on stock such as Kodak 2383.
Resolve's Film Look Creator ("over 60 parameters") and Dehancer's 2383 and Eterna-CP profiles emulate it. In a prompt, "Kodak 2383 print look" names a tone response; ask for grain separately.
Teal and orange
Teal and orange is a grade that pushes colours toward two opposite hues. Nick Redfern's 2021 study of 173 Golden Trailer-nominated trailers found palettes "dominated by dark, unsaturated colours in the orange (hue = 30° ± 30°) and azure (hue = 210° ± 30°) regions": complementary, but dark and muted, not neon.
Ungraded
Teal and orange
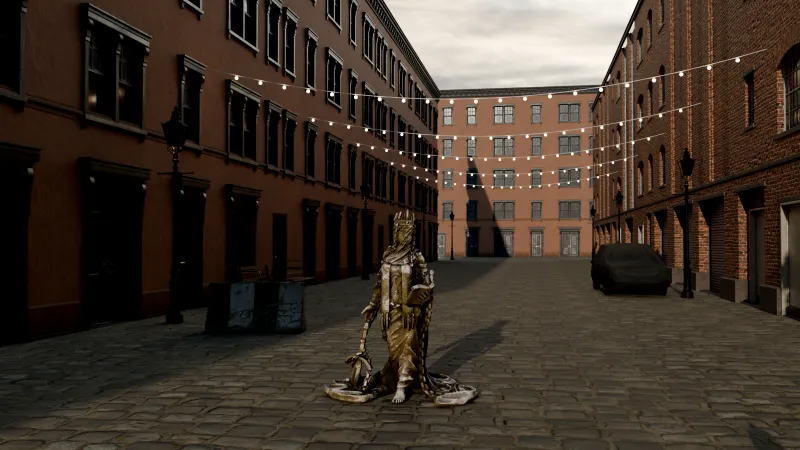
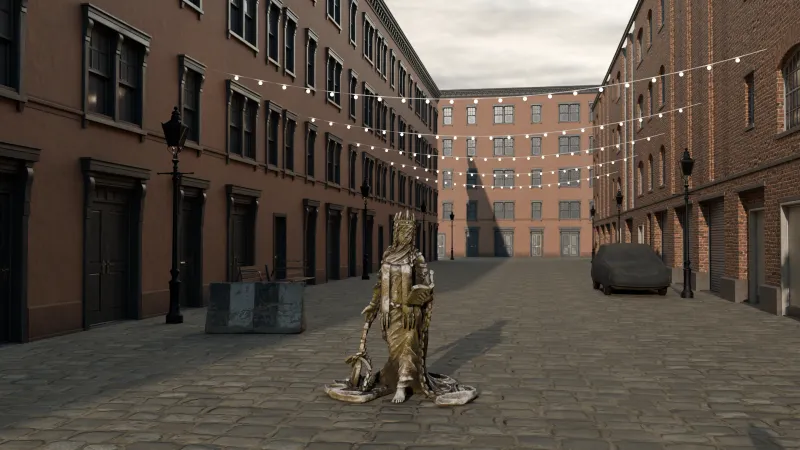
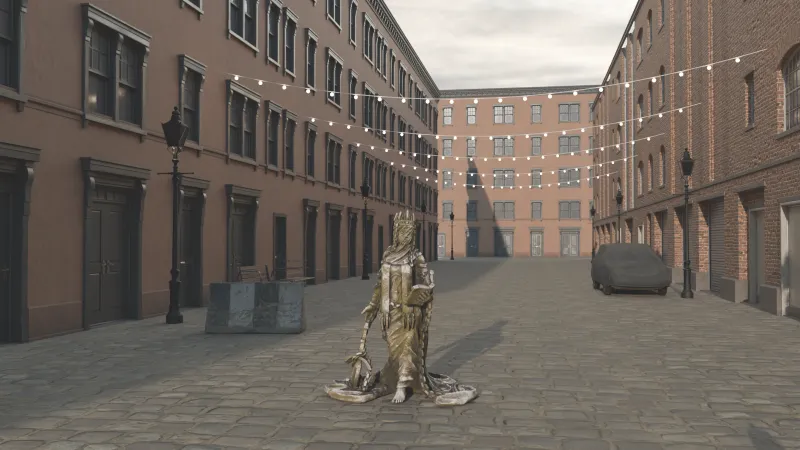
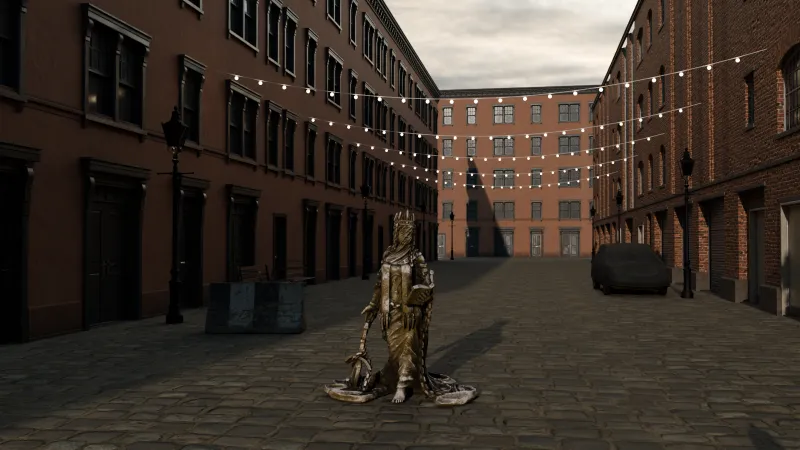
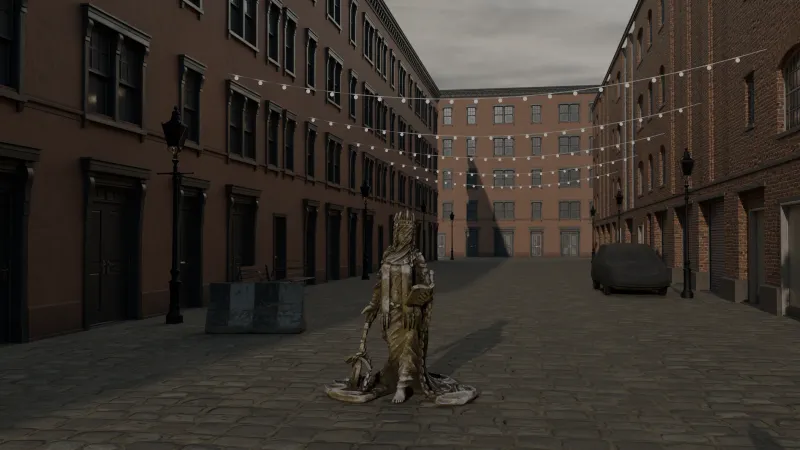
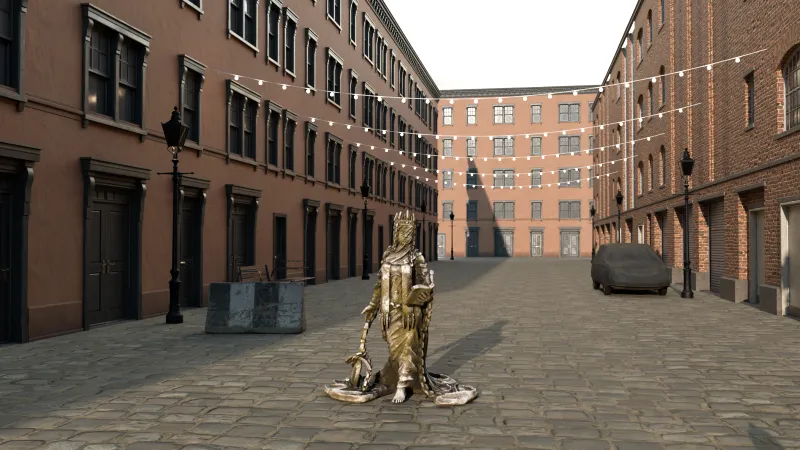
A teal-and-orange grade on one lab render, applied to display values. Shadows and mids are pushed toward teal by (−0.13, +0.03, +0.13) × (1 − luma)^0.8, except on warm hues. Warm hues near 30° (brick, the bronze statue, skin) are pushed toward orange by (+0.10, +0.02, −0.10) and saturated ×1.3, with ×1.1 elsewhere. Contrast is then raised ×1.12. The result splits the frame into cool shadows and warm subjects, the separation Redfern measured. Rendered in Vinc's virtual camera lab.Scene: CC0 Poly Haven assets.
The usual explanation, that opposite backgrounds separate orange skin, has no peer-reviewed test we could find; treat it as a hypothesis.
Bleach bypass
Bleach bypass skips some or all of the lab bleach, leaving silver in the film alongside the dye. Kodak lists "higher contrast," "less saturation," "blown-out whites and highlights" and "loss of shadow detail"; today it is usually done digitally.
Ungraded
Bleach-bypass style
A digital bleach-bypass imitation: the frame's own luminance is overlaid on it (70% mix), then saturation is halved. Like Kodak's list, it gives higher contrast, less colour, hotter highlights and denser shadows. It is a grade, not a simulation of silver retained in film. Rendered in Vinc's virtual camera lab.Scene: CC0 Poly Haven assets.
Day-for-night grade
Day for night means shooting in daylight and making it read as night, through "the manipulation of filters, underexposure, or printing" (Columbia's Film Language Glossary); in French, la nuit américaine, Truffaut's 1973 title. Digitally: lower gain and saturation, cooler balance (our recipe).
Shot by day
Day-for-night grade
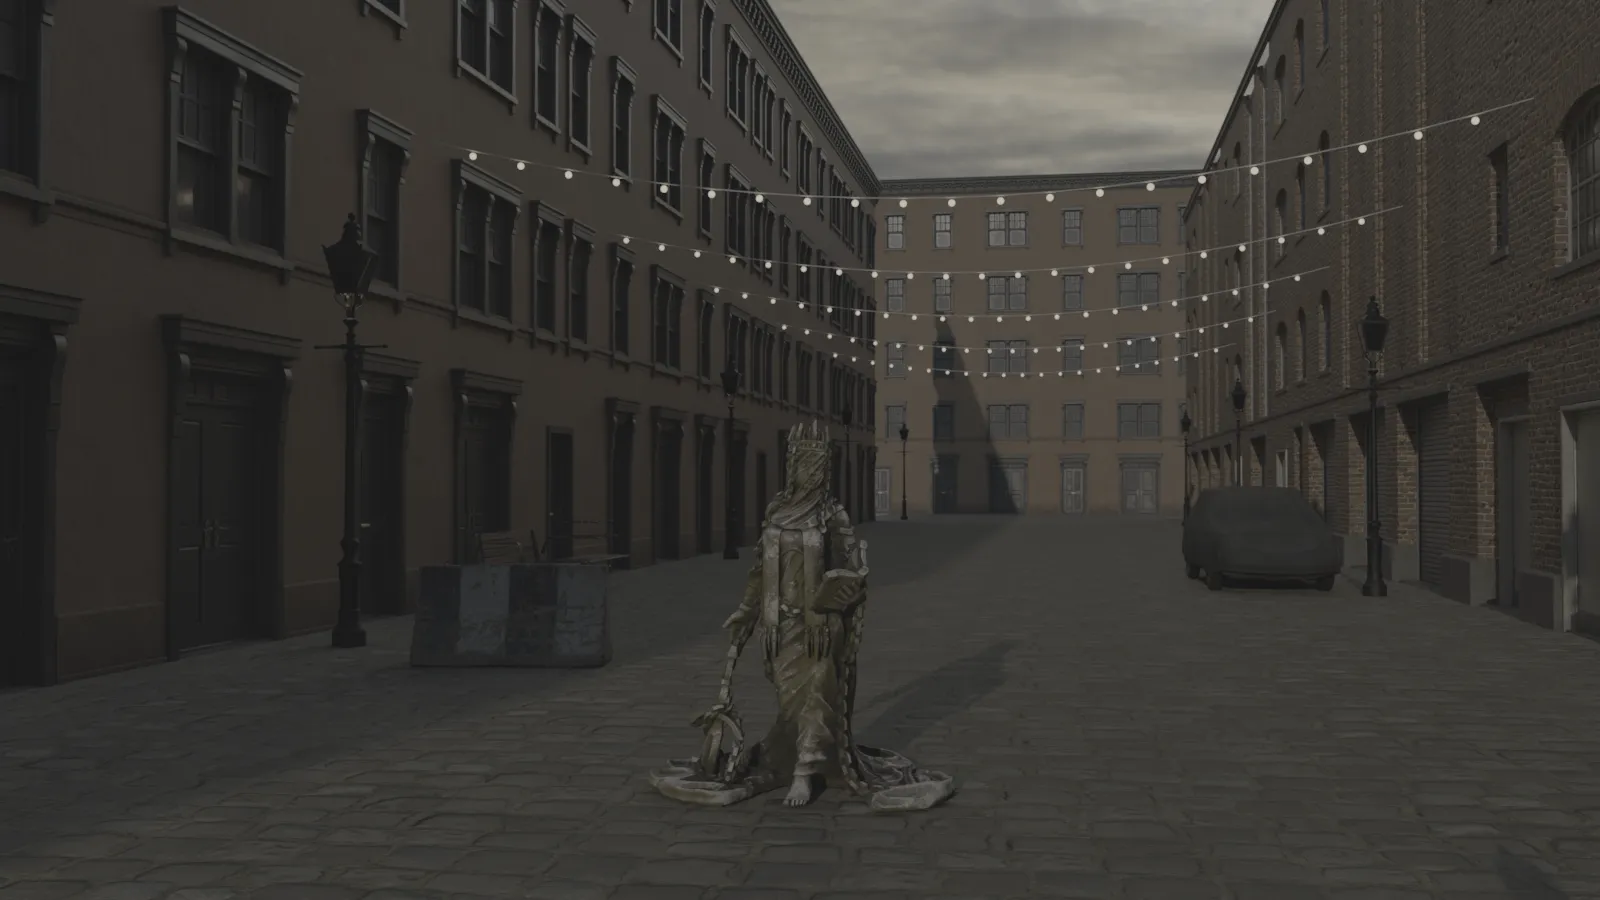
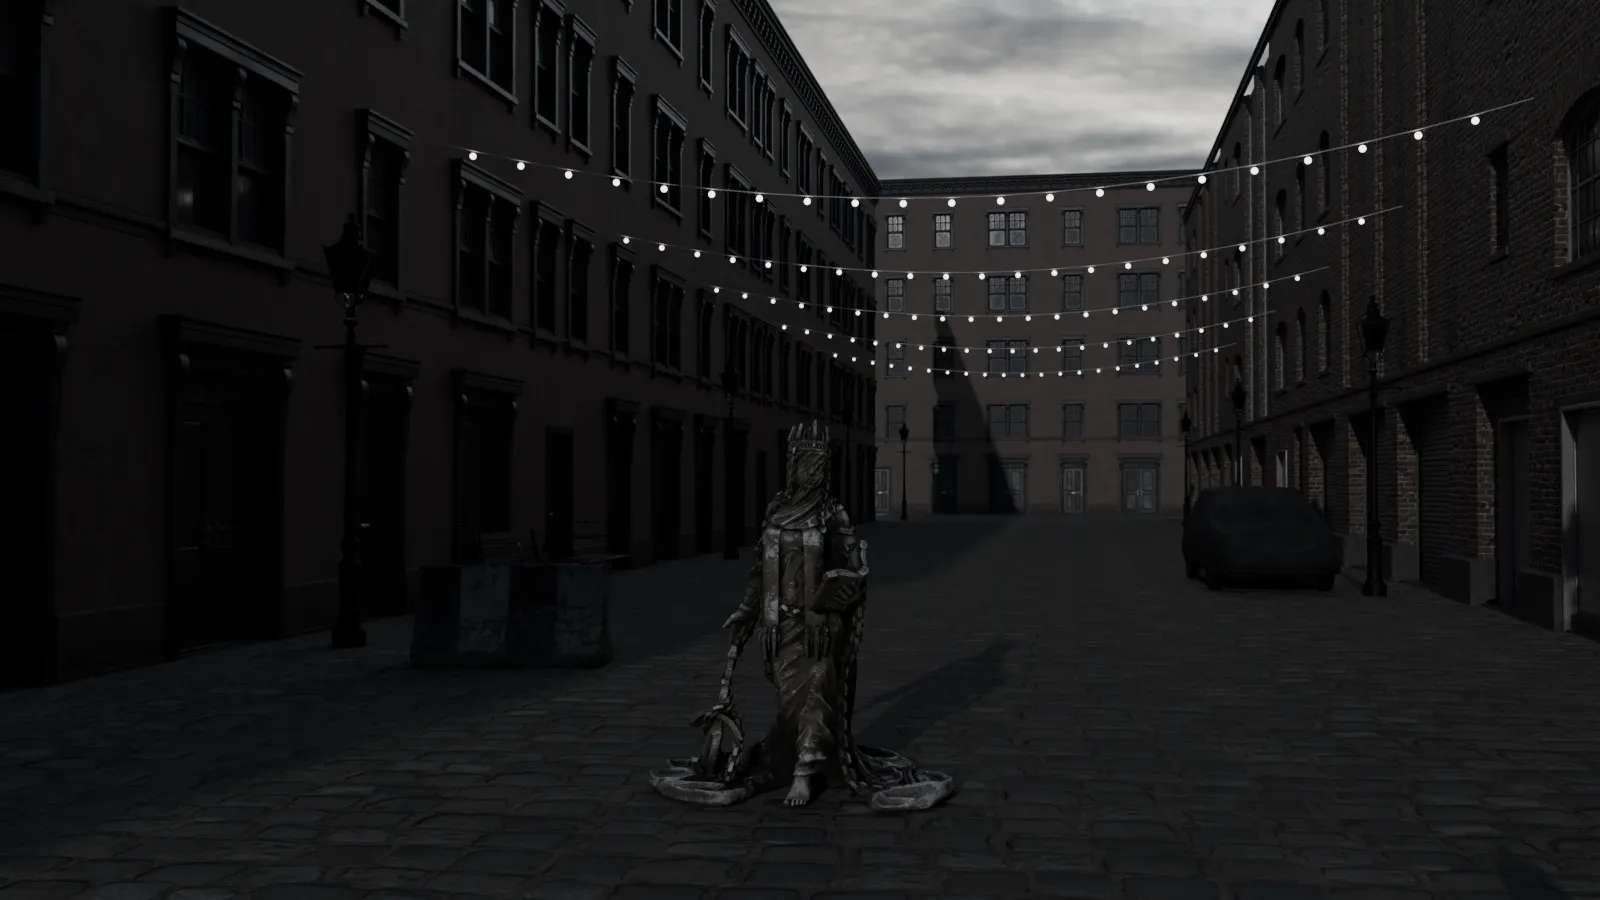
That recipe applied in scene-linear values: 2.5 stops darker, white balance multiplied by (0.70, 0.90, 1.30), saturation down to 40%. The festoon bulbs stay bright, so they read as practicals at night. The bright sky gives the trick away, which is why day-for-night is framed against ground or darkened sky. Rendered in Vinc's virtual camera lab.Scene: CC0 Poly Haven assets.
In a prompt: describe the result ("moonlit night, deep blue shadows, faces dimly lit") rather than "day for night," which a model may render as daylight.
How the model guides phrase grading
None of the official Google, Kling, LTX or Luma guides mention LUTs, log, ACES or teal and orange. They describe the result:
Google (Veo, Gemini Omni Flash): "cool blue and silver futuristic palette," "warm autumnal oranges and browns," "muted earthy tones."
Kling 4.0 gives proportions ("Charcoal and storm blue occupy 60% of the palette, smoke-brown stone 30%, and fire orange 10%") and notes like "protect the silver blade highlights."
Luma: "cinematic color grade," "Same color grade as opening."
LTX: "Vibrant · Muted · Monochromatic · High contrast."
Kling lists 10-bit HDR as "coming soon"; Luma's Ray 3.2 offers EXR export, leaving room to grade after generation. Our illustration:
Muted palette: 60% desaturated teal-grey shadows and walls, 30% warm
skin and wood, 10% orange practical light. Soft contrast with dense
blacks and neutral highlights. Greens shifted towards dry olive.
How we compiled this
Tool definitions quote the DaVinci Resolve 20 Reference Manual; standards come from ITU-R, SMPTE, the CIE and ACES; log curves from ARRI and Sony; the LUT format from Adobe; lab terms from Kodak; plus American Cinematographer, Redfern (2021), Dehancer and the Google, Kling, Luma and LTX guides, all checked 18 November 2026. LUT counts, the gamut-area chart, recipes and the prompt fragment are our own work.
How these images were made. Images captioned "Rendered in Vinc's virtual camera lab" are path-traced simulations (Blender Cycles) of a CC0 Poly Haven street scene, with a physical camera exposed from an 18% grey card. Grades use the formulas in each caption; log frames apply ARRI's published LogC4 formula and AWG4 matrix, display frames Blender's AgX. They don't model lens aberrations, sensor noise or any maker's colour science.
Aspect Ratios in Film Explained: 1.33 to 2.39 and 9:16, With the History and Delivery Specs
Aspect ratios in film are width divided by height. See where 1.375, 1.85, 2.39, 16:9, IMAX and 9:16 came from, and the containers cinemas and Netflix expect.

 Waveform
 Rec.709 display